
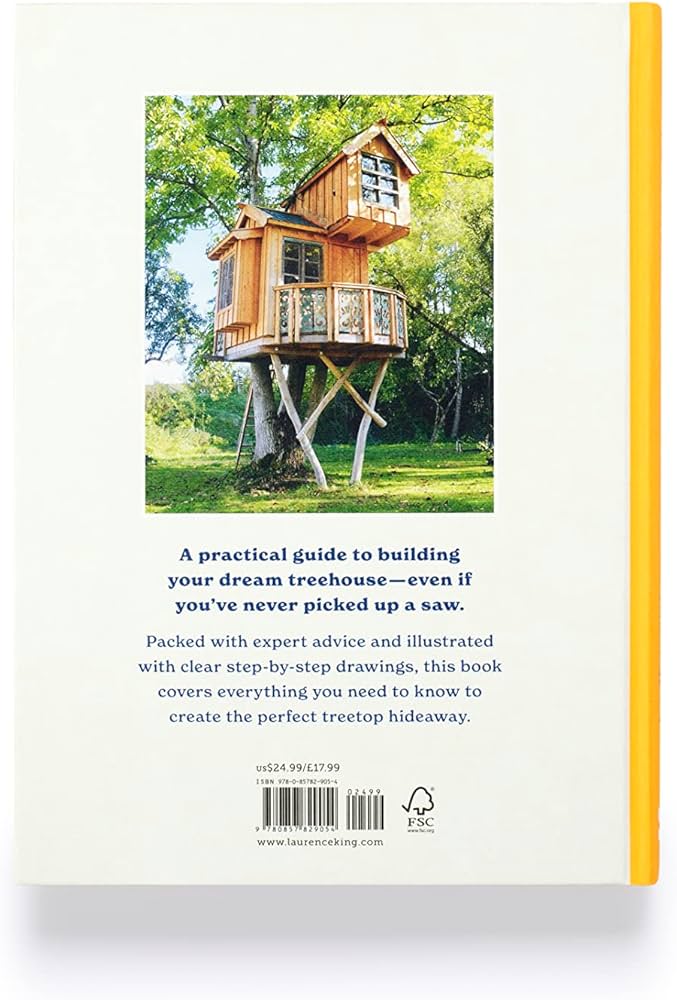
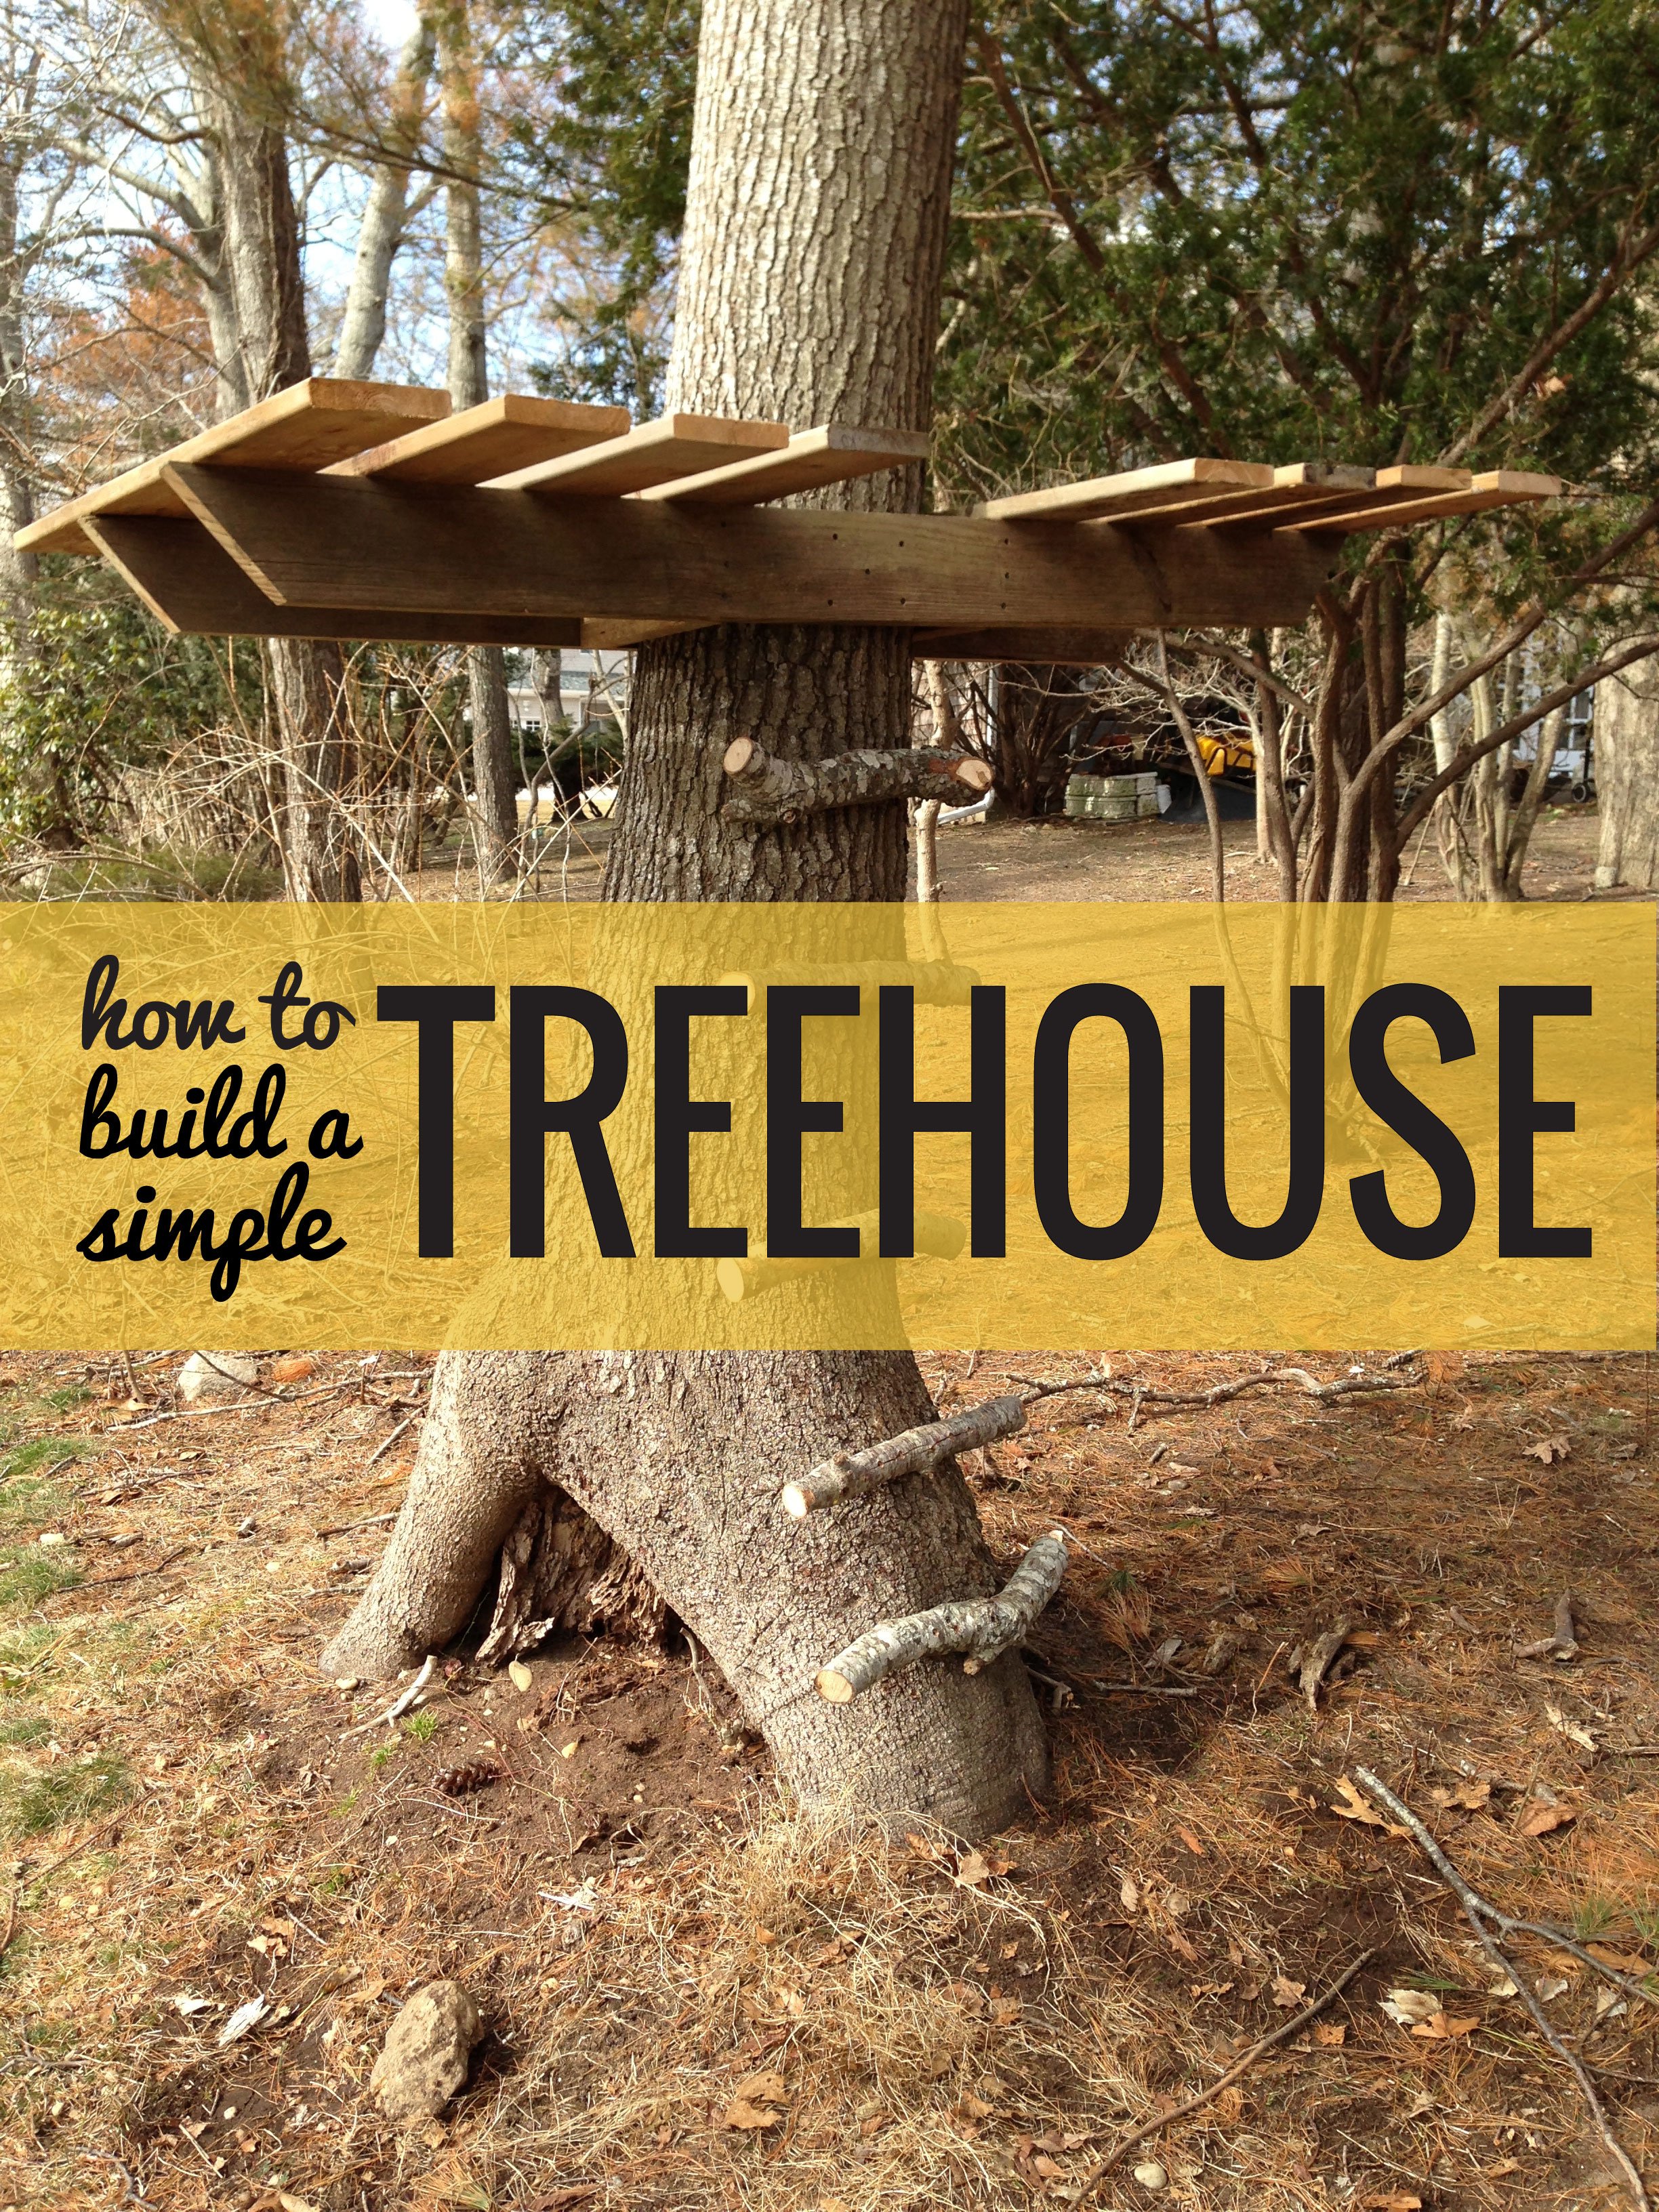
Ever looked up at a strong, sturdy tree in your yard and thought, “Man, that would make an awesome treehouse”? You’re definitely not alone. There’s something truly magical about a space nestled among the branches, a personal hideaway where imaginations can run wild. Maybe you’re picturing a kids’ fort, a quiet reading nook, or even a unique guest room. Whatever your vision, learning how to build a treehouse yourself is a hugely rewarding project, though it’s certainly not without its challenges.
Honestly, it can feel like a massive undertaking when you first start looking into it. You’ve got questions about safety, the right kind of tree, how to even attach the thing without hurting the tree, and, let’s be real, the potential costs involved. But with a bit of planning and the right information, building a sturdy, safe, and long-lasting treehouse is totally within your reach. I’ve been down this road, wrestling with lumber and worrying about wobbles, so I’m here to share what I’ve learned to help you get started on your own sky-high adventure.
Key Takeaways
- Careful planning is crucial, from choosing the right tree to understanding local regulations.
- Use tree-friendly attachment methods like Floating Treehouse Brackets (FTBs) to protect your tree.
- Invest in high-quality, pressure-treated lumber and galvanized fasteners for a durable structure.
- Avoid common pitfalls like skipping permits or underestimating structural needs.
The Dream Treehouse: Planning Your Escape

We’re not just talking about throwing some planks together; we’re talking about a structure that needs to withstand weather, support weight, and coexist with nature. This initial planning saves you headaches, money, and potential heartbreak down the line. It’s the most important part of the entire process, even if it feels less “fun” than the actual building.
Picking the Perfect Perch: How to Choose the Best Tree for a Treehouse

You’ll want to look for mature, healthy hardwood trees. Think oaks, maples, sycamores, or even large firs. These trees have strong, deep root systems and dense wood that can bear significant weight. Avoid softwoods like poplars or willows, which are more prone to rot and breakage. When you check out your potential tree, here’s what to keep an eye on:
- **Health:** Look for a tree that’s free of disease, rot, or major cavities. Check the bark for cracks, fungi, or excessive sap. A professional arborist can give you an expert opinion on its overall health.
- **Trunk Diameter:** The minimum tree diameter for a treehouse depends on your design, but generally, you’ll want a trunk at least 12 inches in diameter at the point of attachment for smaller structures, and 18-24 inches or more for larger ones. This ensures it can support the weight and handle the stress of the attachments.
- **Branch Configuration:** Consider how the branches naturally spread. Do they offer good support points? Is there enough space between them for your desired platform size? You want natural forks and strong horizontal branches, not just a single, straight trunk.
- **Location:** Is it too close to power lines, your house, or other structures? Think about access and safety. Also, consider sunlight – you might want shade in summer but sun in winter.
Navigating the Red Tape: Do You Need a Permit to Build a Treehouse?

The rules vary wildly depending on where you live. What might be fine in one rural county could be a major violation in a suburban neighborhood. **Before you even buy a single piece of lumber, contact your local planning or building department.** Ask them specifically about accessory structures, detached structures, and any specific codes relating to structures built above ground or on trees. They’ll tell you about setback requirements, height restrictions, and potentially even specific engineering reviews if your treehouse is above a certain size or height.
Pro Tip: When speaking with your local building department, don’t just ask “Do I need a permit for a treehouse?” Be prepared to describe your planned structure’s size, height, and proposed location. Having a basic sketch can really help them guide you to the correct information and avoid misunderstandings.
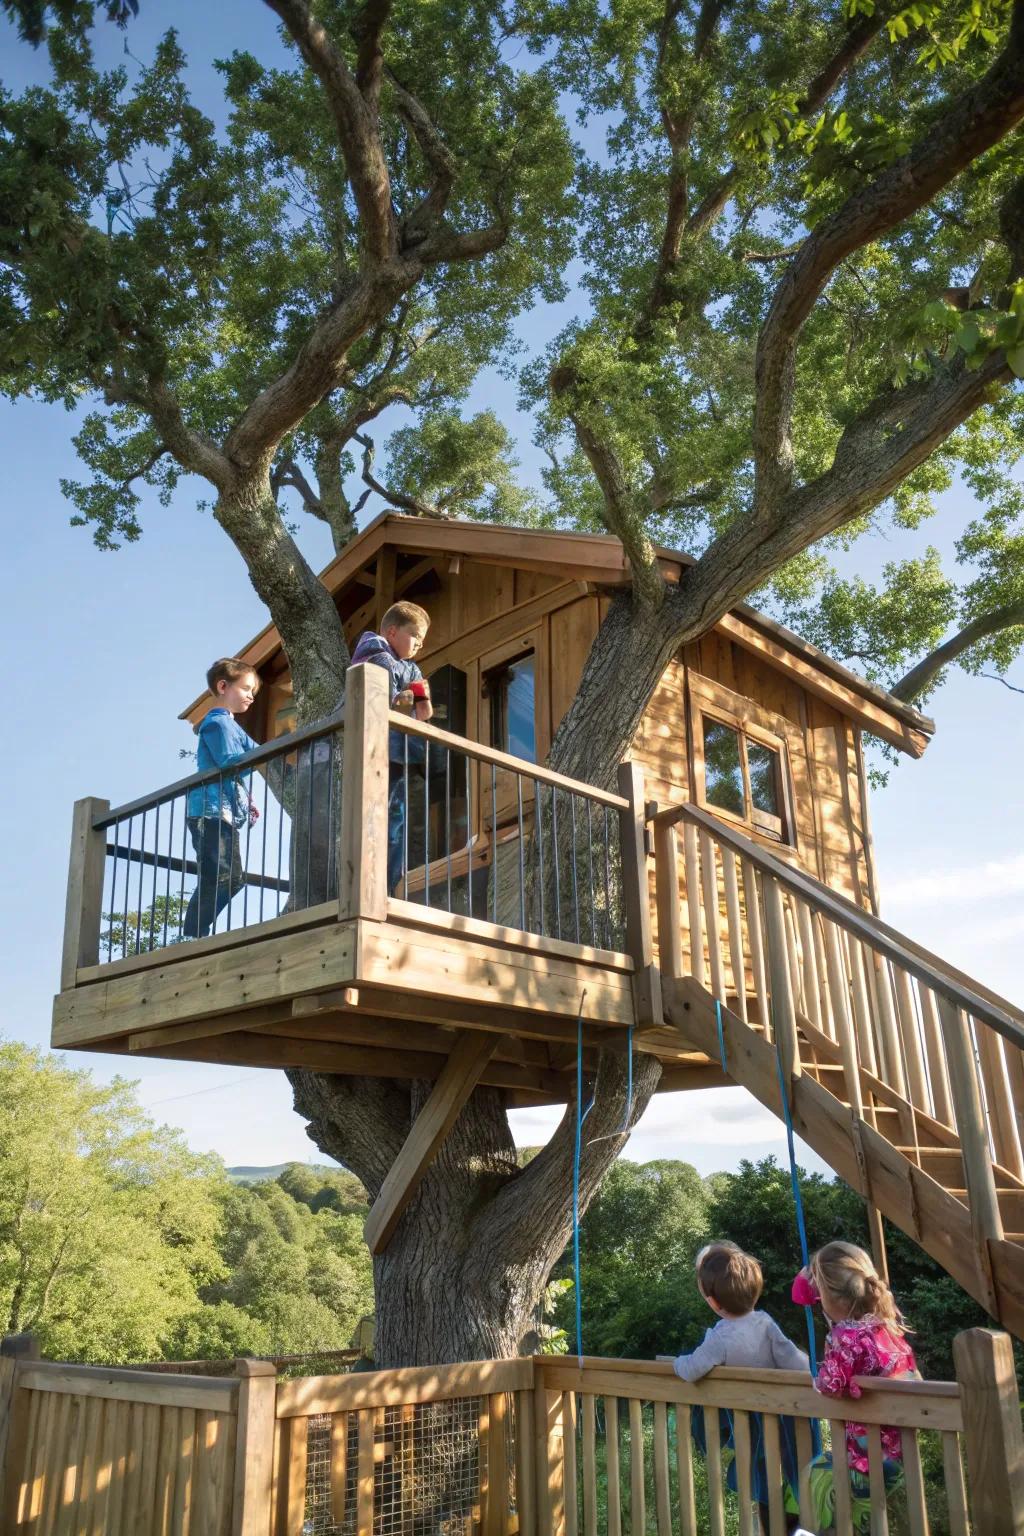
Safety First: Essential Treehouse Design Considerations
Here are some key safety considerations:
* **Structural Soundness:** Your design needs to distribute weight evenly and securely. Don’t skimp on the calculations or materials here. If you’re unsure, consulting with someone familiar with treehouse structural engineering is a really smart move.
* **Treehouse Safety Railing:** This is non-negotiable. Any open edge needs a sturdy railing that’s high enough (typically 36-42 inches) and has balusters spaced closely enough so a child can’t squeeze through (usually no more than 4 inches apart).
* **Access:** How will people get up there? A sturdy staircase with handrails is safest, especially for younger kids. A rope ladder construction might be fun, but it’s often better as a secondary access point for older, more agile users. Make sure whatever you choose is anchored firmly.
* **Load Capacity:** Design your platform to support more weight than you think it will ever need to. Account for furniture, people, snow load, and even wind.
* **Tree Growth:** Remember, trees grow! Your attachments and design need to account for the tree’s expansion over the years. This is a common mistake to avoid when building a treehouse.
Getting Started: Essential Tools for Building a DIY Treehouse

Here’s a list of tools you’ll definitely want to have on hand:
| Tool Category | Specific Tools Needed | Why You Need It |
|---|---|---|
| **Measuring & Marking** | Tape Measure, Speed Square, Pencil, Level (long & torpedo) | For accurate cuts and ensuring everything is plumb and square. |
| **Cutting** | Circular Saw, Miter Saw (optional, for precise angles), Hand Saw | To cut lumber to size, quickly and accurately. |
| **Drilling & Fastening** | Cordless Drill/Driver (with extra batteries!), Drill Bit Set, Impact Driver | Driving screws, drilling pilot holes for bolts, general assembly. |
| **Safety Gear** | Safety Glasses, Work Gloves, Hearing Protection, Hard Hat, Harness/Lanyard (for working at height) | Non-negotiable for protecting yourself on the job site. |
| **Miscellaneous** | Clamps, Chisels, Pry Bar, Hammer, Ratchet/Wrenches, Post Hole Digger (if adding ground supports) | For various tasks, from holding pieces in place to making adjustments. |
Attaching Your Treehouse Safely: Methods That Won’t Harm the Tree
**The gold standard for treehouse attachment bolts today is the Treehouse Attachment Bolt (TAB), often used with a Floating Treehouse Platform system.** These aren’t just regular bolts. They’re specifically designed to be inserted into the tree, allowing for a structural connection while still giving the tree room to grow and sway naturally in the wind. The platform rests on these bolts and can slide slightly, preventing the tree from being girdled or stressed.
Other, simpler tree-friendly methods for smaller, lighter structures include:
* **Bolt and Sleeve Systems:** These involve passing a large bolt through the tree with a sleeve to prevent girdling. They need careful placement and monitoring.
* **Compression/Suspension Systems:** Using ropes or cables to hang the treehouse or support it from above. These distribute weight over a larger area and allow for movement, but require very strong, high branches.
The first time I tried this, I made the mistake of thinking I could just use a few heavy-duty lag screws. I quickly realized that a growing tree would either engulf them or the structure would eventually put too much stress on the tree. Researching proper treehouse attachment bolts changed my whole perspective. It’s a bit more expensive upfront, but it’s worth it for the tree’s health and the long-term stability of your treehouse.
Choosing the Right Materials for a Sturdy Treehouse
When looking at what materials are best for a sturdy and long-lasting treehouse, think primarily about wood species and treatment:
* **Pressure-Treated Lumber:** This is your best friend for anything directly exposed to weather or in contact with the tree. It’s chemically treated to resist rot, decay, and insect infestation. Use it for your main beams, joists, and decking.
* **Plywood Sheathing:** For your platform base and potentially walls, exterior-grade plywood (like CDX) is a good choice. Make sure it’s rated for outdoor use.
* **Decking Boards:** For the floor of your treehouse, pressure-treated decking or composite decking works well. Composite decking is low-maintenance but typically more expensive.
* **Framing Lumber:** For walls and roof framing, standard kiln-dried lumber (like Douglas Fir or Spruce-Pine-Fir) can be used, but ensure it’s protected from direct moisture exposure with proper siding and roofing.
* **Fasteners:** Use galvanized fasteners or stainless steel screws and bolts. Regular steel will rust and weaken over time, staining your wood and compromising the structure. This includes your treehouse attachment bolts.
* **Weatherproofing Sealants:** Once built, you’ll need to protect the wood. Quality weatherproofing sealants and stains will add years to your treehouse’s lifespan, preventing moisture absorption and UV damage.
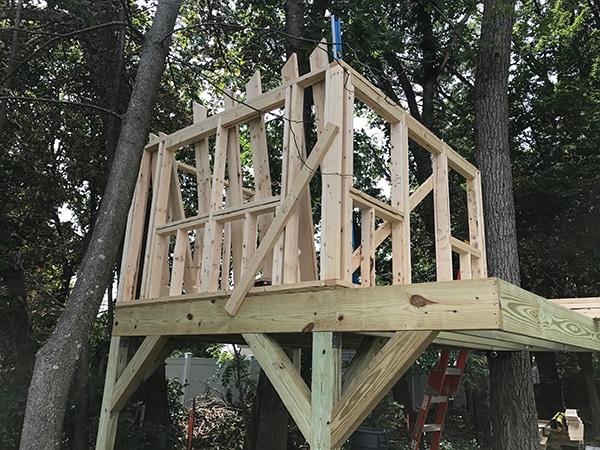
Building the Platform: The Foundation of Your Treehouse

Most DIY treehouse plans for beginners will walk you through building a simple square or rectangular platform. It typically involves setting your main support beams onto your chosen tree attachment system (like those TABs), then installing joists across these beams. Finally, you’ll sheath the top with plywood or decking boards. Every joint needs to be securely fastened with galvanized fasteners, and you’ll want to double-check for level and squareness as you go. Imagine trying to walk on a wavy floor—not fun, right?
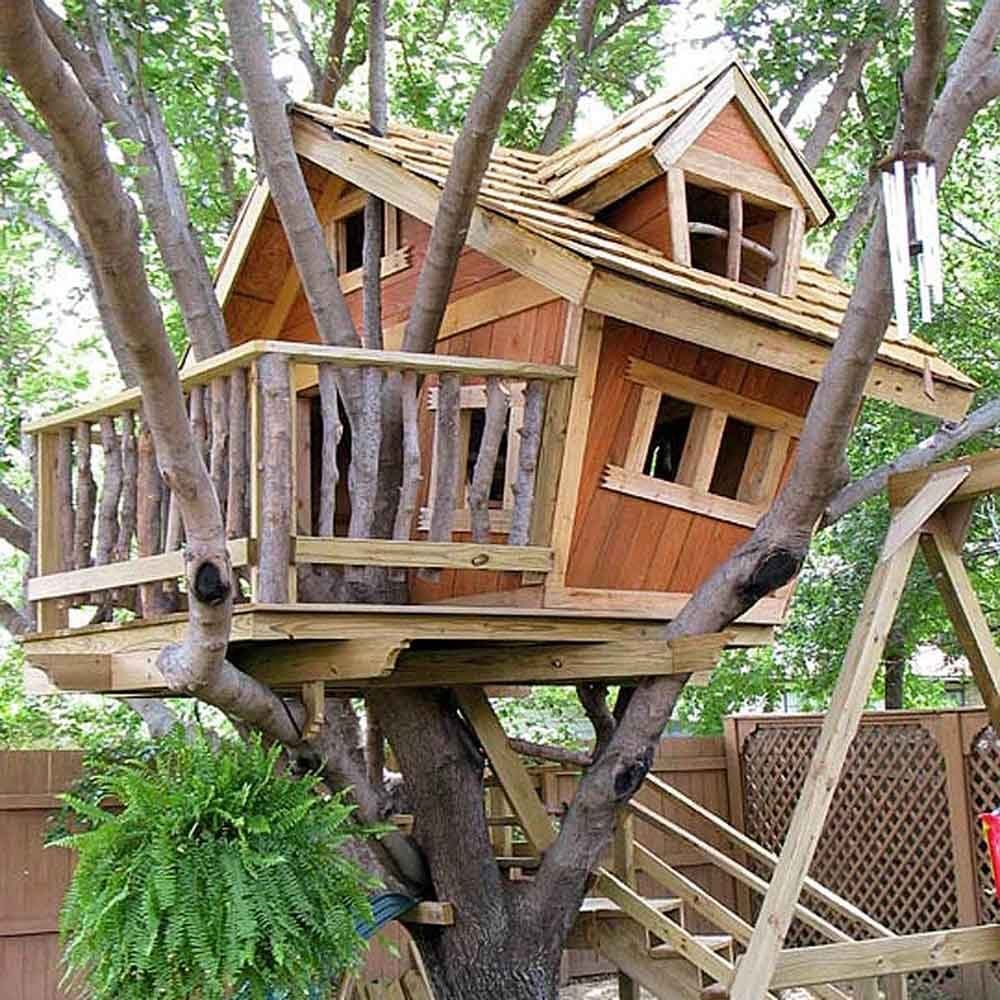
Walls, Roof, and Finishing Touches: Making It Homey

The roof is another crucial element, especially if you want your treehouse to stay dry and usable in all weather. Learning how to waterproof a treehouse roof is essential. You’ll typically frame a pitched roof, then apply plywood sheathing, followed by a waterproof membrane, and finally shingles or metal roofing.
For the exterior, you can use siding materials like cedar shakes, reclaimed wood, or even simple painted plywood. Inside, you might want to add some insulation, paneling, or even electrical conduit for lighting. These finishing touches truly make it feel like a real escape. Think about the sensory detail here: the smell of fresh-cut wood, the feel of a smooth, sanded railing, the soft light filtering through a tiny window.
Common Mistakes to Avoid When Building a Treehouse

Here are some common mistakes to avoid:
* **Ignoring Tree Health and Growth:** As mentioned, this is huge. Don’t use a sick tree, and always plan for its future growth.
* **Skipping Permits:** It seems minor until you get a stop-work order. Do your homework.
* **Underestimating Weight and Structural Needs:** Don’t just guess. Use proper spans for beams and joists, and ensure your attachments can bear the full load.
* **Using Non-Galvanized Fasteners:** Rust will become a structural issue over time.
* **Not Accounting for Drainage and Water Intrusion:** Water is the enemy of wood. Ensure proper roof drainage and seal all exterior surfaces.
* **Building Too Far from the Trunk:** The further out you build, the more leverage and stress you put on the attachment points.
* **Rushing the Job:** Take your time, measure twice, cut once, and don’t cut corners on safety. Is it difficult to build a treehouse yourself? It can be if you rush!
* **Lack of Safety Railing:** This is non-negotiable for any elevated platform.
* **Forgetting About Access:** Plan how you’ll get up and down, and make it safe for everyone who will use the space.
What About the Cost?
For a simple, DIY treehouse, you might be looking at:
* **Materials:** $1,000 – $5,000 (Lumber, decking, fasteners, roofing, hardware). This is the biggest variable. Using pressure-treated decking and quality treehouse attachment bolts adds up.
* **Tools:** If you don’t have them, budget another few hundred for a good cordless drill, saw, and safety gear.
* **Permits:** Usually a few hundred dollars, if required.
* **Arborist Consultation:** $100 – $300, a small but potentially invaluable cost.
How much does a professional treehouse builder charge? Well, for a custom, professionally built treehouse, you’re typically looking at $10,000 to $50,000 or even more, depending on complexity, size, and finishes. That’s a pretty big range, but it reflects the specialized skills, custom engineering, and higher-quality materials often involved. For the average homeowner, a DIY approach definitely saves a ton of cash.
Frequently Asked Questions
How long does it take to construct a basic treehouse?
For a basic, small treehouse platform, a DIY builder with some experience might take 2-4 weekends. A more complex structure with walls and a roof could easily take 1-3 months of dedicated weekend work, or even longer if you’re learning as you go. Planning significantly reduces construction time.
What is the minimum tree diameter for a treehouse?
Generally, you want a minimum of 12 inches in diameter at the point of attachment for smaller, lighter structures. For anything substantial, aiming for 18-24 inches or more provides much better stability and support. Always consult an arborist if you’re unsure about your tree’s capacity.
Where can I find free treehouse plans for beginners?
There are many resources online! Websites like Instructables, popular DIY blogs, and even some lumber company sites offer free plans. Just make sure to vet them for safety and adjust them to fit your specific tree and local regulations. While a generic plan gives you a starting point, remember your tree is unique, so some customization is always needed.
How do I make sure my treehouse won’t harm the tree?
The best way to ensure your treehouse won’t harm the tree is to use tree-friendly attachment hardware, specifically Treehouse Attachment Bolts (TABs) with a floating platform system. Avoid girdling the tree with ropes or wires, and never nail directly into the trunk or large branches. Regular inspection for tree health and adjusting for growth is also important.
Can I add electricity to my treehouse?
Yes, you can, but it requires careful planning and often an electrician. You’ll need to run an outdoor-rated electrical conduit from your main power source, ensure all wiring and fixtures are waterproof, and often obtain specific electrical permits. Safety is paramount when mixing electricity and the outdoors.
Ready to Build?
So, what kind of adventures are you dreaming up for your very own treehouse?


Leave a Reply