
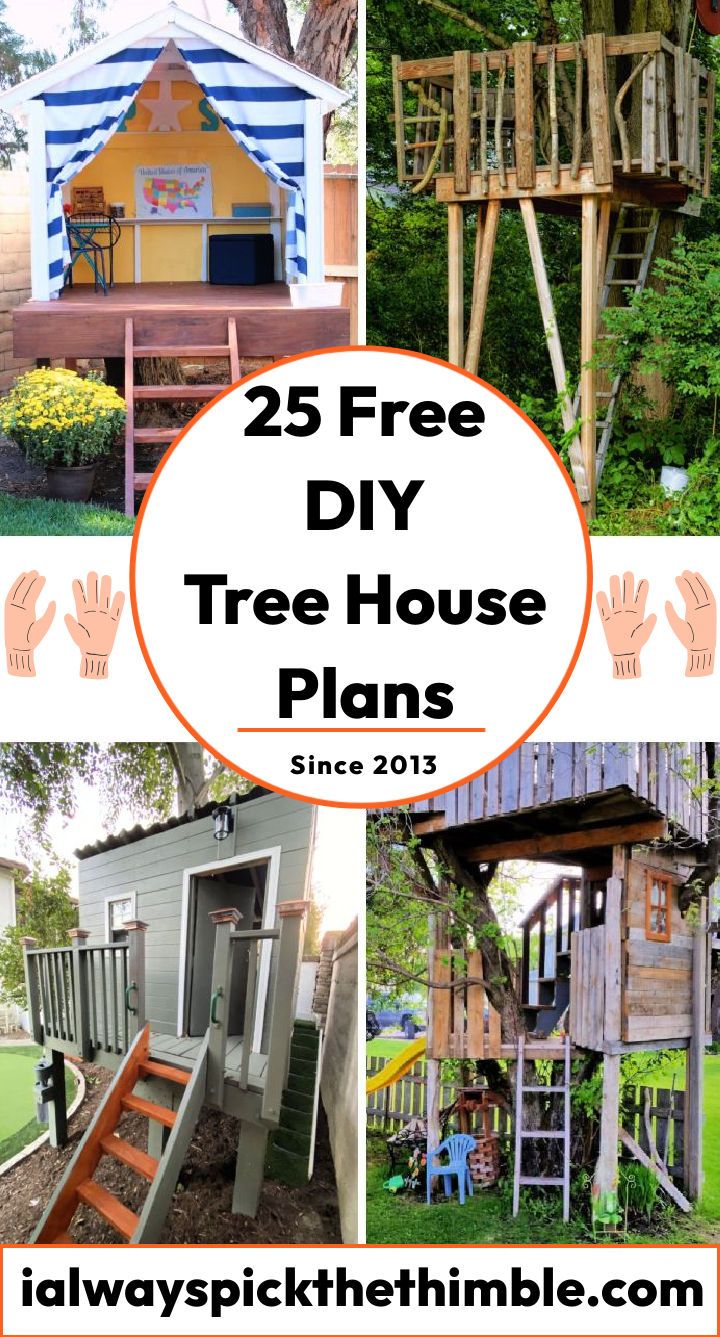
Ever looked up at a sturdy old tree in your yard and pictured a cozy hideaway nestled in its branches? A place where kids (or even you!) can escape, read, dream, or just hang out? Honestly, there’s something magical about a treehouse. It’s more than just a structure; it’s a launchpad for imagination, a private club, a quiet retreat. But let’s be real, building one isn’t just about nailing a few planks to a trunk. You want it to be safe, strong, and stand for years, right?
That’s why we’re here. I’ve spent my fair share of time up in trees, figuring out the best way to build a treehouse that’s both a joy and a solid piece of work. From picking the perfect tree to understanding those tricky attachment bolts, I’m going to walk you through everything you need to know. We’ll cover how to build a safe treehouse, what materials are best for a durable treehouse, and even what you should consider about building permits. Let’s get to it!
Key Takeaways
- Start with smart planning, including site selection and understanding local regulations for building permits.
- The health and type of your tree are crucial for safety and the treehouse’s long life.
- Use tree-friendly attachment methods like TABs or Garnier Limbs (GLs) to protect your tree.
- Invest in quality materials like pressure-treated lumber and the right essential tools for treehouse construction.
Planning Your Treehouse Dream: Site Selection & Permits

First up, site selection. You need a suitable tree, but also consider the area around it. Will it be easily accessible? Is there enough space for kids to play safely below? What about privacy from neighbors? These are all important factors to consider when you’re just getting started.
Then there’s the big one: Do I need planning permission for a treehouse? This is not a fun question, but it’s a necessary one. Building permits and zoning regulations vary wildly depending on where you live. Some areas consider a treehouse a “temporary structure” and don’t require much, while others treat it like any other addition to your home. My first time building a treehouse, I almost made the mistake of not checking. Luckily, a neighbor pointed me to the local council’s website. It saved me a huge headache down the line! Always check with your local authority before you begin. You don’t want to build your dream only to have to tear it down.
Choosing the Right Tree: A Safe Home for Your Hideaway

You’re looking for mature, deeply rooted hardwoods. Think oaks, maples, sycamores, and large conifers like firs or cedars. These trees generally have sturdy branches and trunks that can handle the weight and movement of a structure. Avoid trees that are too young, show signs of disease, or have shallow root systems.
Here’s what to look for:
- **Trunk Diameter:** You want a trunk that’s at least 12 inches in diameter where your main support beams will attach. Bigger is usually better for load-bearing capacity.
- **Branch Structure:** Look for horizontal or slightly upward-sloping branches that are thick and healthy. Avoid branches with narrow crotches or ones that show signs of splitting.
- **Overall Health:** Check for rot, fungus, dead branches, or significant bark damage. If you’re unsure, an arborist consultation is a wise investment. They can assess the tree’s health and suggest the best locations for attachments, helping you attach a treehouse without damaging the tree.
- **Growth Pattern:** Remember, trees grow. Choose a location and design that allows for future growth without the tree “eating” your treehouse.
Seriously, if your tree isn’t happy, your treehouse won’t be either. Take your time with this selection.
Building the Foundation: Attaching Without Damage

The best way to build a treehouse involves specialized hardware designed to allow the tree to grow while still providing incredible support. We’re talking about Treehouse Attachment Bolts (TABs), sometimes called Garnier Limbs (GLs). These aren’t your average bolts. They’re heavy-duty, multi-component fasteners that create a sturdy point of attachment while giving the tree enough room to form a callous around the bolt, essentially healing itself.
Pro Tip: When installing TABs or GLs, don’t overtighten them. You need to leave a small gap between the beam and the tree’s bark. This allows for bark growth and prevents the beam from girdling the tree, which can cause serious damage over time.
You’ll connect your main support beams – often hefty 2x8s or 2x10s – to these TABs. Sometimes, you’ll use cantilever beams extending from a central platform or even ground-to-tree posts for added stability, especially for larger designs. Structural engineering plays a significant role here, even if it’s just a basic understanding of forces and loads. Always think about your tree’s load-bearing capacity.
Designing Your Space: From Plans to Structure
A good design starts with some sketches. Get your ideas down on paper. Think about:
* **Size and Shape:** How big do you want it? Square, rectangular, hexagonal?
* **Access:** Will it have a ladder, a rope ladder, or proper stairs?
* **Roof Style:** A simple shed roof, gable, or something more whimsical?
* **Windows and Doors:** How much light and air do you want?
* **Interior Features:** Benches, shelves, a small table?
Where can I find free treehouse building plans? The internet is your friend here! Many woodworking sites, DIY blogs, and even public libraries have plans you can adapt. Just remember to tailor any plan to your specific tree and local conditions. Always consider treehouse building safety standards in your design, especially for railings and openings. You’ll want to incorporate cross bracing into your frame for stiffness and stability, preventing wobble in high winds.
Materials & Tools: Building Smart and Strong
For flooring and decking, marine-grade plywood is an excellent choice. It’s built to withstand constant moisture without delaminating. For railings and other exterior finishes, look for cedar, redwood, or other naturally rot-resistant woods. Don’t skimp on fasteners either; galvanized screws, bolts, and joist hangers are crucial. They resist rust and corrosion, keeping your structure sound for longer.
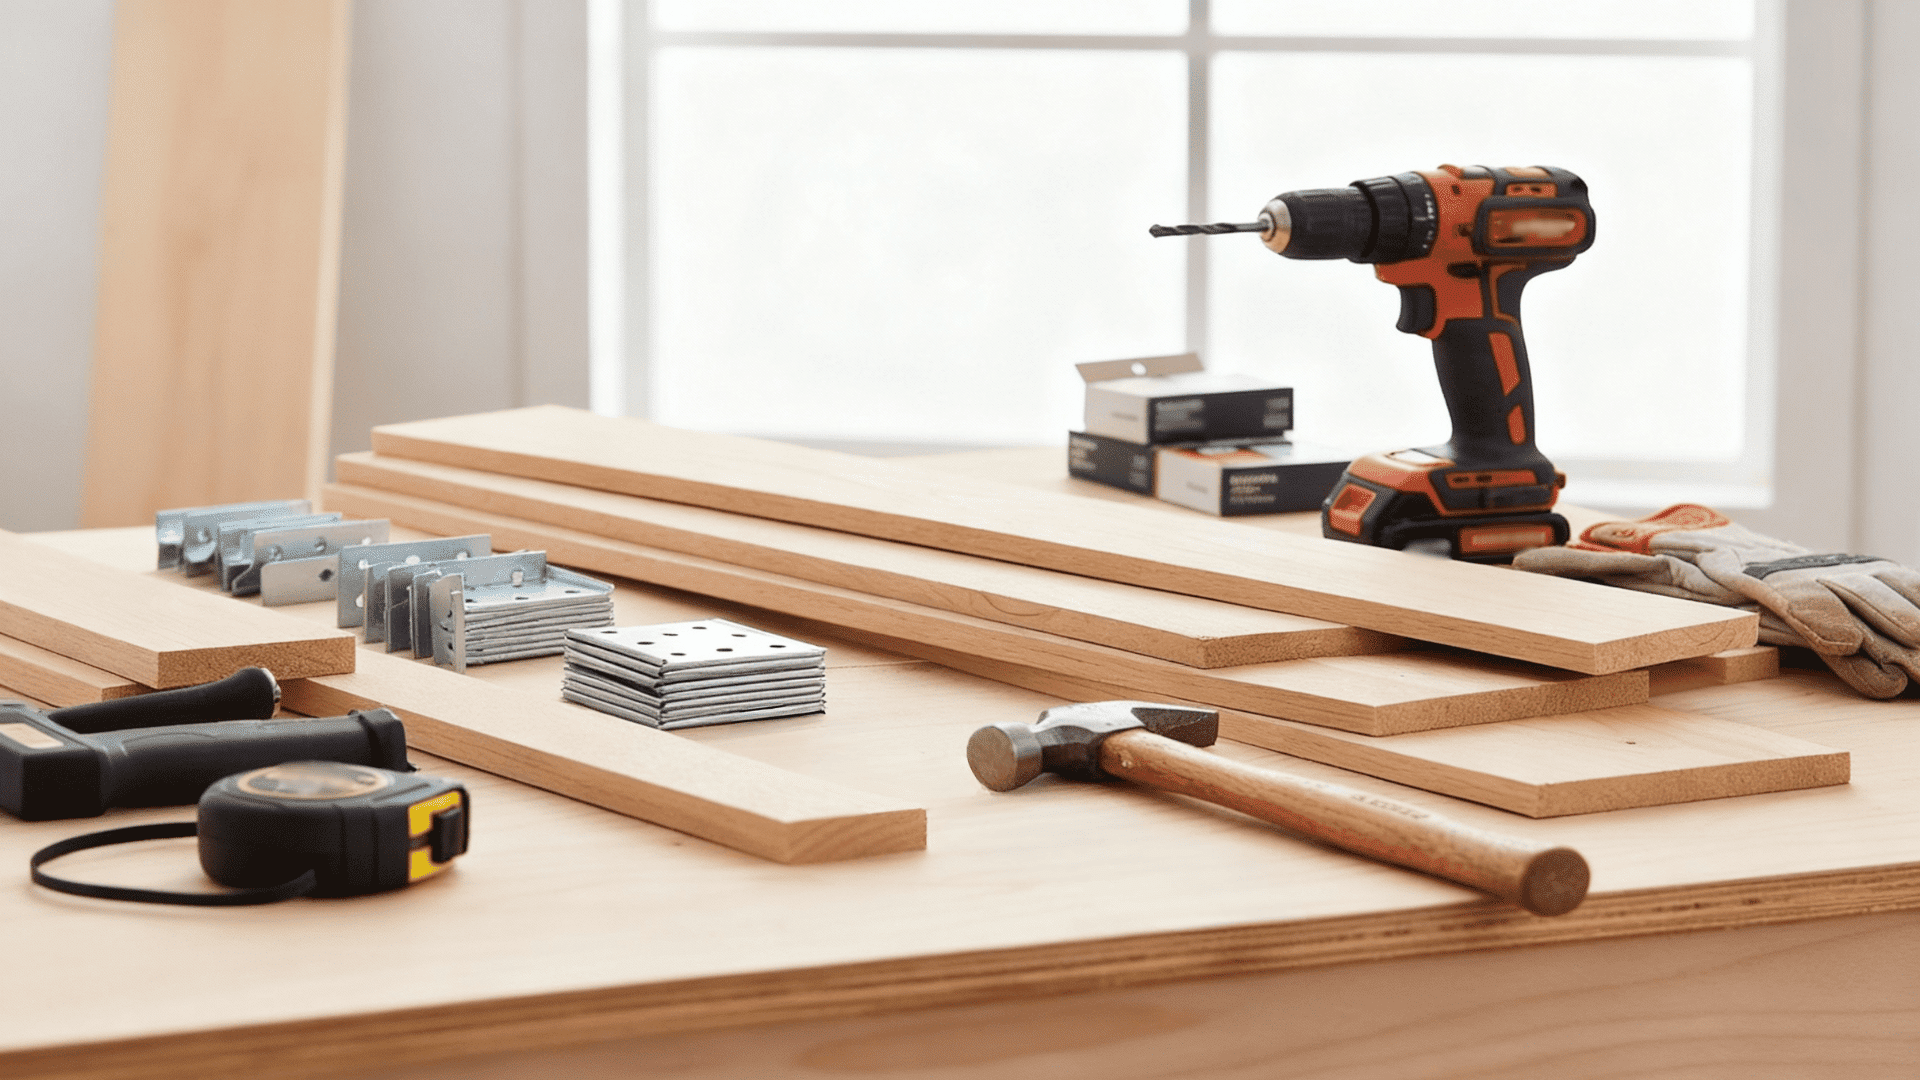
As for essential tools for treehouse construction, you’ll need more than just a hammer and some nails. Here’s a basic rundown:
* **Circular saw:** For cutting lumber quickly and accurately.
* **Drill/Driver:** For pilot holes and driving screws.
* **Level and Speed Square:** For ensuring everything is plumb and square.
* **Measuring Tape:** Obviously!
* **Impact Driver:** Makes driving long screws much easier.
* **Safety Gear:** Gloves, safety glasses, and a hard hat are non-negotiables when you’re working overhead.
Honestly, having the right tools makes the job so much easier and safer. You can feel the satisfying thud when a joist hanger is perfectly aligned and secured.
Building Your Treehouse: Step-by-Step Construction

1. **Install Tree Attachments:** This is where those TABs or GLs go in. Follow the manufacturer’s instructions precisely. This is your most critical structural step.
2. **Mount Support Beams:** Attach your main load-bearing beams to the tree attachments. Use a good level to ensure they are perfectly horizontal. This creates the primary frame of your treehouse foundation.
3. **Build the Floor Frame:** Construct your floor joists. You’ll use joist hangers to connect them to your main support beams. Think of it like building a deck frame, just elevated!
4. **Install Decking/Floor:** Lay down your marine-grade plywood or decking boards. Secure them firmly with galvanized screws.
5. **Frame the Walls:** Erect the wall studs, just like a small shed. Remember to include openings for windows and doors.
6. **Construct the Roof:** Build the roof frame and sheath it with plywood, then cover it with roofing material to weatherproof a treehouse.
7. **Add Railings and Access:** Install railing balusters around any open edges. Build your ladder or stairs. This is crucial for treehouse building safety standards.
8. **Finishing Touches:** Add siding, paint, trim, and any interior features.
Is it hard to build a treehouse yourself? It can be challenging, but incredibly rewarding. Take your time, measure twice, cut once, and don’t be afraid to ask for help when lifting heavy beams.
Safety First: Railings, Ladders & Weatherproofing
Any elevated platform needs sturdy railings. These aren’t just for show. Make sure your railing balusters are spaced closely enough (typically no more than 4 inches apart) to prevent small children from slipping through. The railing itself should be robust and securely fastened, able to withstand someone leaning against it or even a little playful jostling.
For access, ladders need to be strong and anchored at both the top and bottom. If you’re building stairs, ensure they have proper treads and risers, and consider handrails. Remember, a ladder that swings freely is a hazard.
Finally, how to weatherproof a treehouse is a big concern. You want your hard work to last. A good roof is your first line of defense, but also consider sealing all exterior wood surfaces with a quality outdoor stain or paint. This will protect against moisture, UV rays, and extend the life of your materials. Proper drainage around the tree and ensuring no water pools on the platform will also help prevent rot.
Cost of a DIY Treehouse: What to Budget

A very basic, small platform treehouse might start around $500-$1,500. This would use standard pressure-treated lumber, simple fasteners, and a basic roof. If you’re looking for something more substantial, with walls, windows, and a proper roof, you’re likely looking at $2,000-$5,000. For custom designs with specialized hardware like multiple TABs, high-end marine-grade plywood, and a fancier finish, the costs can easily climb to $5,000-$10,000 or even higher.
Don’t forget to factor in:
* **Materials:** Lumber, decking, roofing, siding, fasteners, hardware (TABs can be pricey but are worth it).
* **Tools:** If you don’t own everything, you might need to buy or rent a circular saw, drill, etc.
* **Permit Fees:** If required, these can add a few hundred dollars.
* **Arborist Consultation:** Again, a wise investment that adds to the upfront cost.
* **Safety Gear:** Don’t skimp here.
You can save money by using reclaimed materials where appropriate (just ensure they’re safe and structurally sound) or by simplifying your design. But remember, cutting corners on structural integrity or safety materials is never a good idea. Investing a bit more upfront often saves you headaches (and potentially more money) down the road.
Ready to build your masterpiece?
Look, building a treehouse is a big project, but it’s an incredibly satisfying one. There’s nothing quite like standing back and admiring something you’ve built with your own hands, especially when it’s nestled up in a tree, ready for adventures. Whether it’s for your kids or just a secret escape for yourself, following these steps will put you on the best way to build a treehouse that’s safe, strong, and truly special. So, grab your plans, put on your safety glasses, and let’s get building. What’s the first step you’ll take towards your own backyard treehouse?
Frequently Asked Questions

Here are some common questions folks have about building treehouses:
Q: How do I make sure my treehouse is stable in strong winds?
A: Stability comes from several places. First, strong tree attachments and a robust foundation are key. Second, incorporate cross bracing into your frame – diagonal supports that resist racking (sideways movement). Lastly, ensure your design considers the wind load and isn’t overly tall or flimsy for its footprint.
Q: Can I build a treehouse in a multi-trunk tree?
A: Yes, absolutely! Multi-trunk trees can provide fantastic support points, allowing you to spread the load across several strong trunks. Just make sure each trunk is healthy and that you design the platform to accommodate the growth and sway of each individual trunk.
Q: What’s the easiest way to get materials up into the tree?
A: For lighter materials, a simple rope and pulley system works wonders. For heavier beams, you might need a few extra hands or even a material lift if the treehouse is particularly high or large. Safety first – never try to lift too much on your own.
Q: How often should I inspect my treehouse for safety?
A: You should inspect your treehouse annually, preferably in the spring, for any signs of wear and tear, loose fasteners, rot, or tree growth impacting the structure. Also, check it after any major storms to ensure everything is still sound. An inspection provides an important insight into your treehouse’s current state.
Q: What if my tree eventually outgrows the treehouse?
A: This is why careful planning and tree-friendly attachment methods are so important. TABs and GLs allow some movement and growth. However, all trees grow. You may need to adjust or even dismantle parts of your treehouse over decades as the tree expands. Regular maintenance checks will help you catch issues early.


Leave a Reply